
Why a Small Test Square Protects the Full Run
When you press one small test piece first, you are checking the actual conditions on your machine, not just the settings on paper. Two presses set to the same temperature can behave differently if one has a worn element, uneven pressure or a pad that has gone hard in the middle.
For T-shirt decorators in Midrand, Randburg or Germiston, a test square is often the cheapest insurance in the workshop. It helps you spot problems before they become a pile of ruined garments. That matters even more when you are working on a rush order for a school, a local sports club or a corporate event where there is no room for reprints.
The point is simple. A test square gives you a clear answer on adhesion, colour shift, scorch marks and release. If something is off, you catch it on one piece, not on fifty.
What to Put on the Test Piece Before You Start
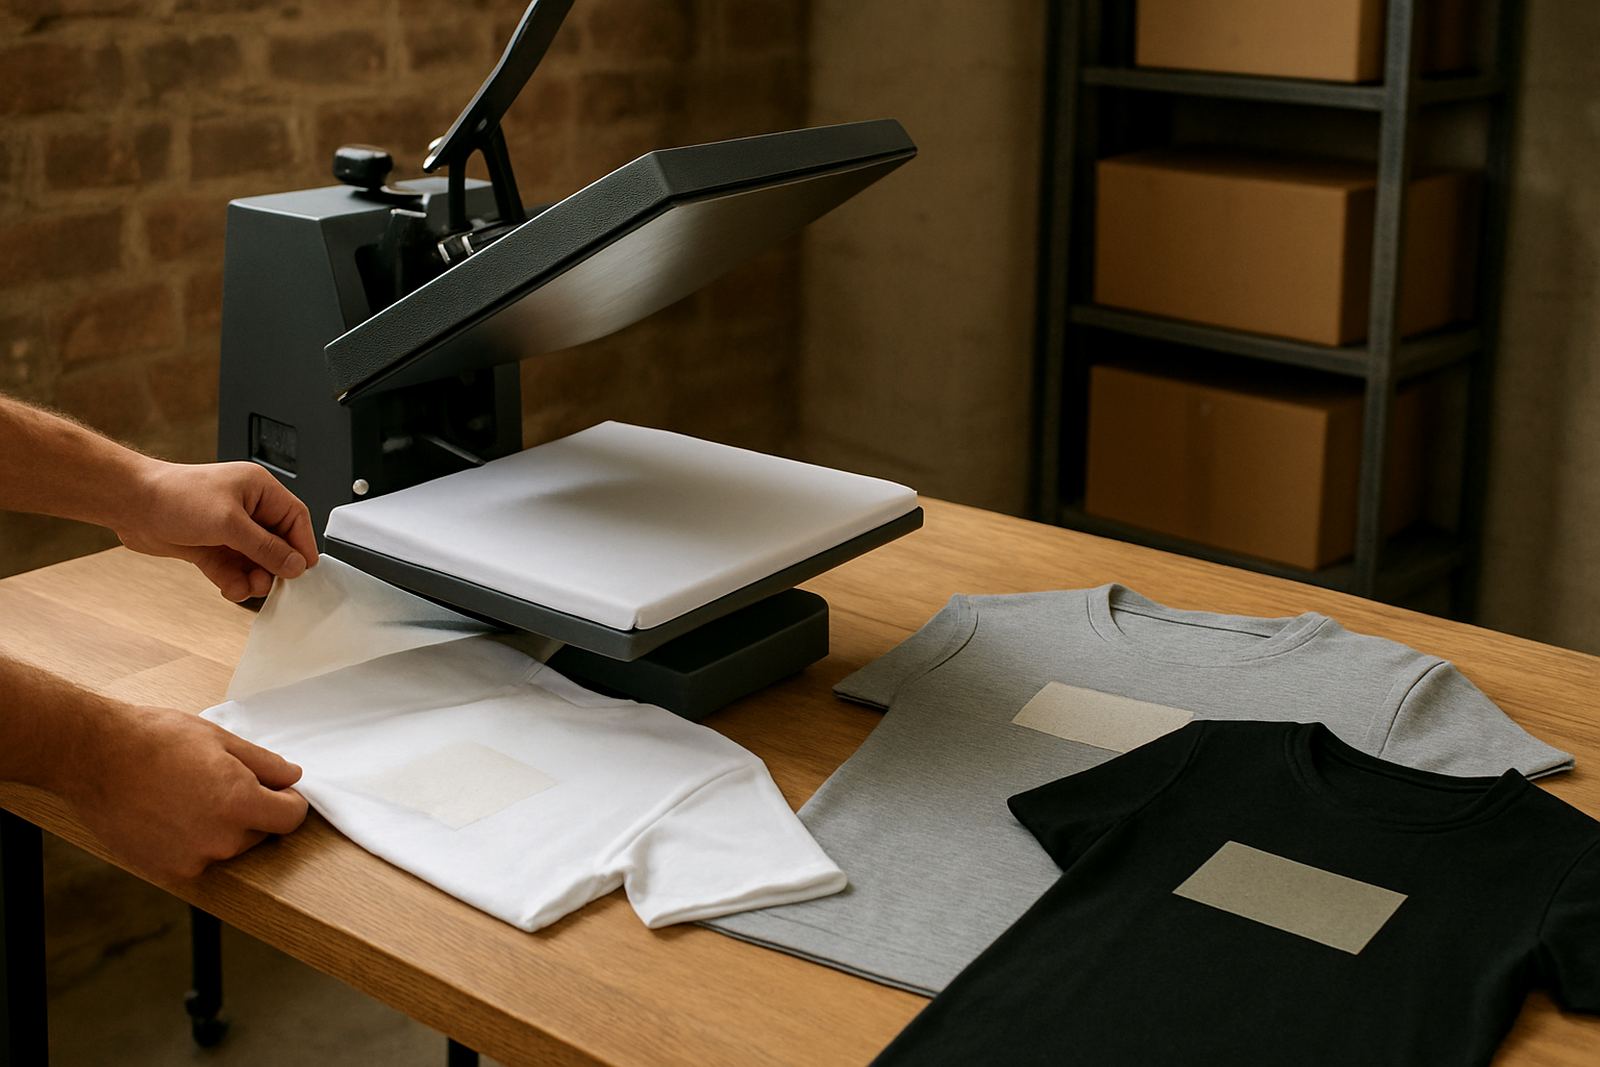
A proper test square should match the job as closely as possible. If you are pressing cotton tees, use cotton. If the order is a polyester blend, test on the same blend. The same goes for transfers, where the size of the artwork and the type of application matter.
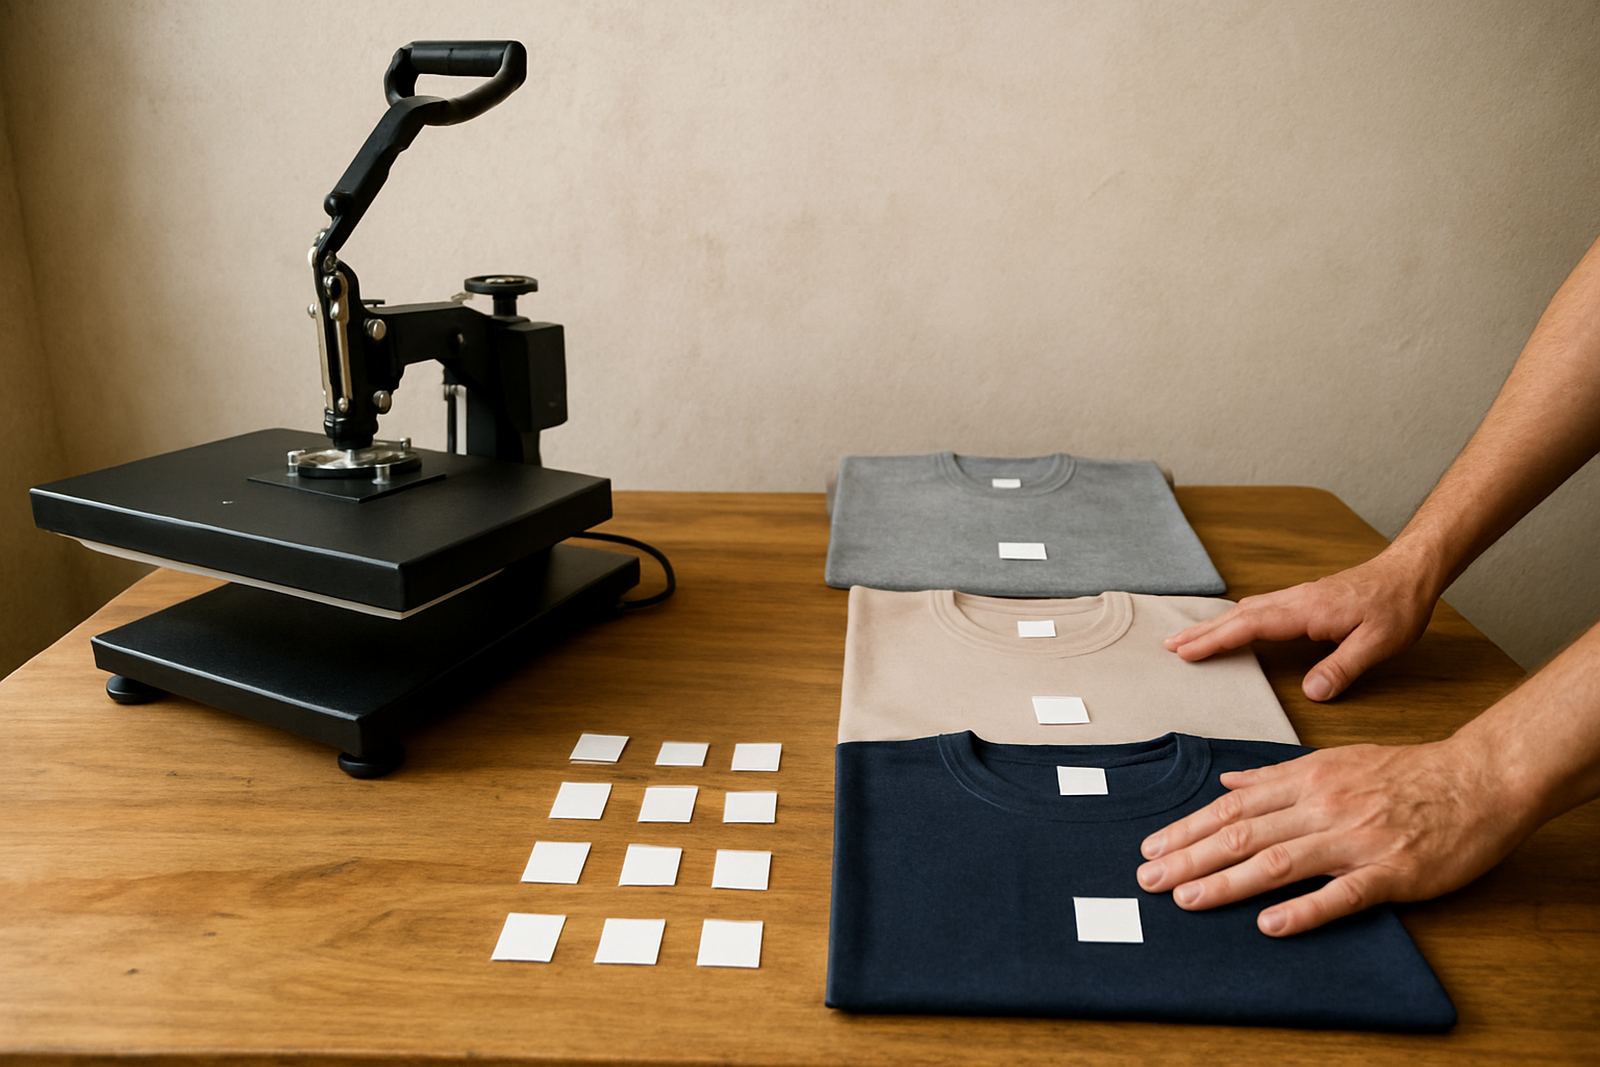
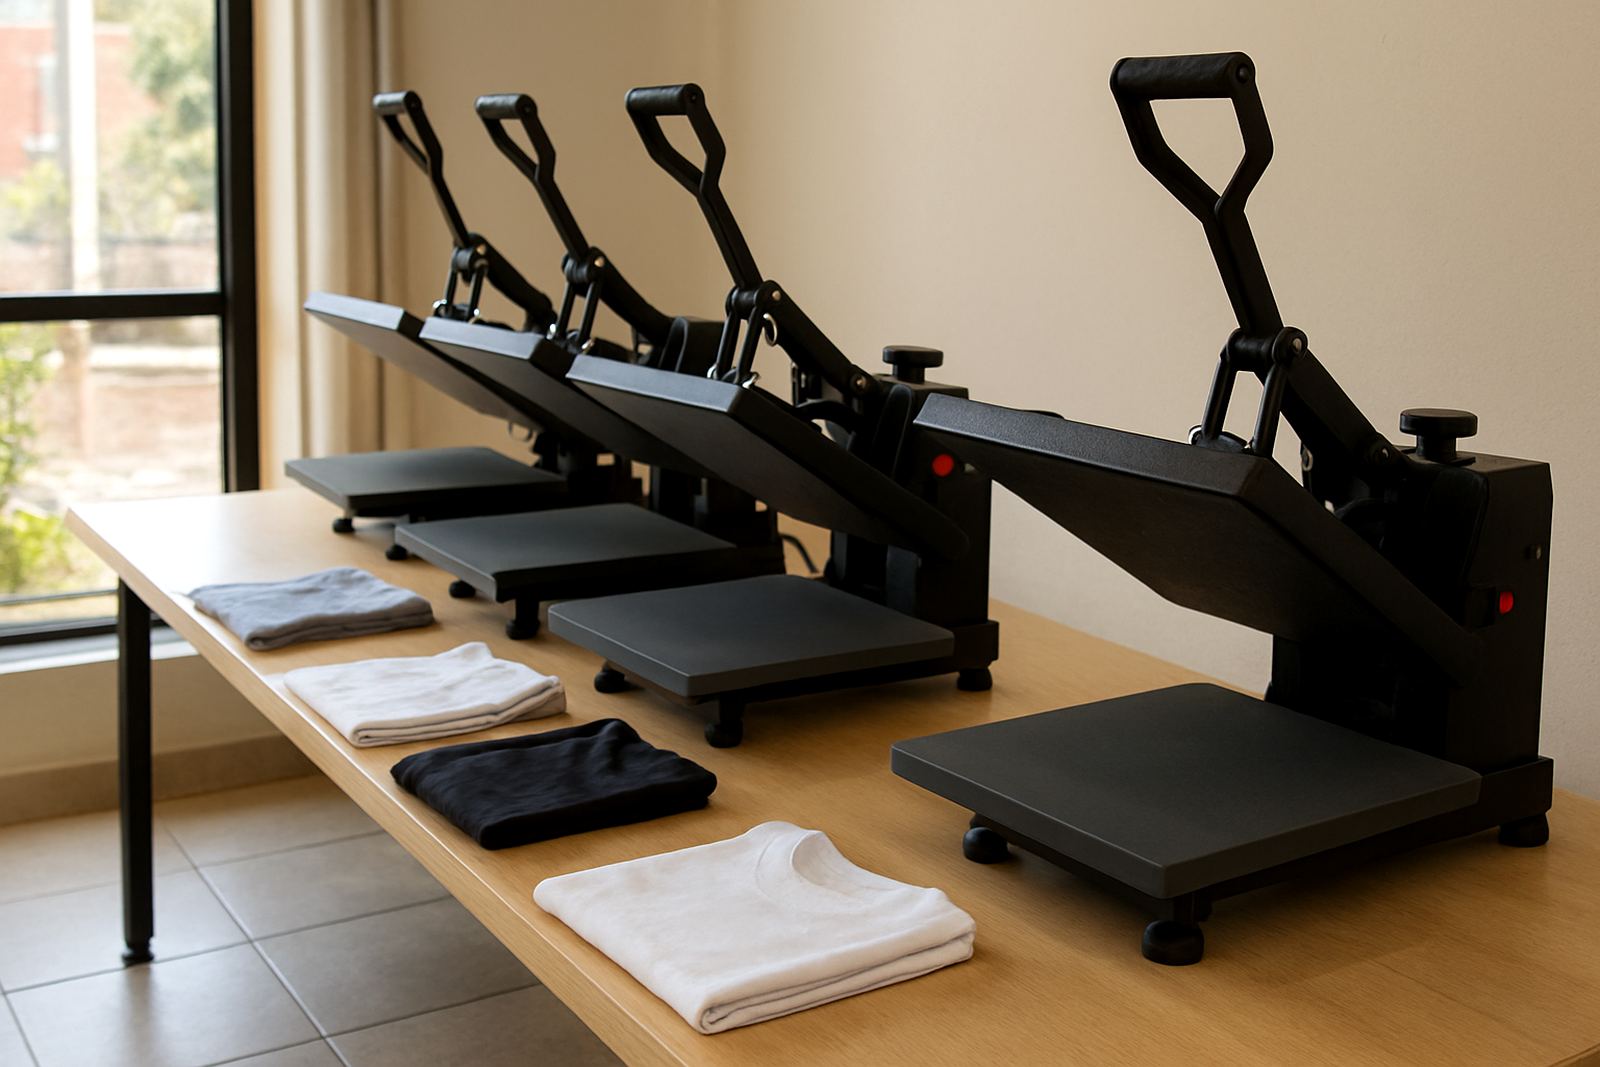
Many shops in Gauteng keep a small box of offcuts, sample tees and scrap panels near the press. That makes it easy to check settings without wasting new stock. If your garments come from different batches, test one piece from each batch because colour, finish and fabric density can vary.
It also helps to mark the test piece with the date, settings and result. A notebook stuck next to the press can save time later when a repeat order comes in. If you have multiple operators on different shifts, this simple habit keeps everyone on the same page.
- Use a spare shirt, sleeve panel or fabric offcut that matches the job.
- Apply the same transfer size and position you plan to use on the real order.
- Record temperature, time and pressure so you can repeat the result later.
The Three Checks That Matter Most
A test square is only useful if you know what you are looking for. Most issues fall into three areas: heat, pressure and time. If any one of these is wrong, the transfer may lift at the edge, look dull or leave a shine on the fabric.
Start with heat. If the platen is reading correctly but the element has cold spots, the centre may press well while the edges underperform. Then check pressure. Too little pressure can leave a transfer partly bonded, while too much can flatten the garment or mark seams. Finally, confirm timing. A few seconds too short may be fine on a sample but fail once you move to a full production batch.
In practice, a good test square should come away cleanly, sit flat and hold after cooling. If the result looks uneven, do not guess. Adjust one setting at a time so you can see what changed.
How Load-Shedding and Power Cuts Affect the Result
In South Africa, power interruptions can throw a heat press off balance more than many operators realise. A machine may recover after load-shedding, but the platen can still be stabilising for several minutes. If you start a production run too soon, the first pieces may not match the rest.
That is why a test square is especially useful after a power cut or generator changeover. It tells you whether the press has returned to the correct working temperature and pressure. This is important for print shops in Johannesburg, Pretoria and Durban where orders often have tight turnarounds and technicians need a quick yes or no before the queue starts moving again.
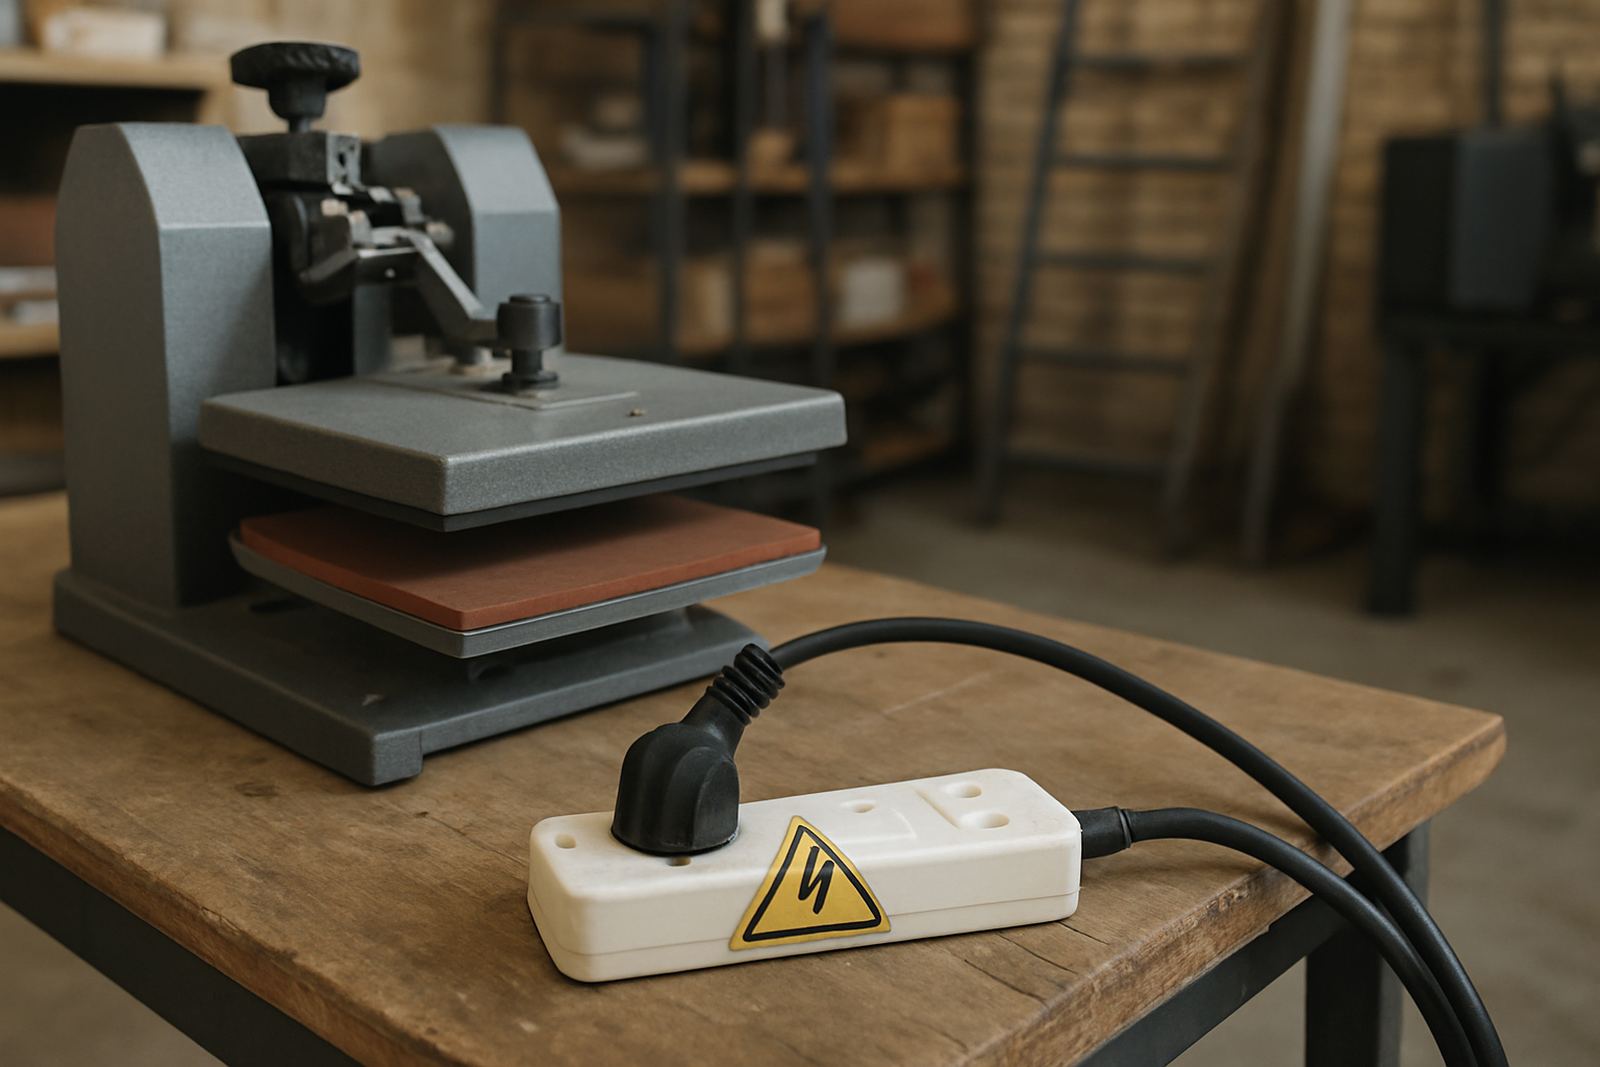
If your workshop uses extension leads, plug points or a backup supply, check the machine again after any power fluctuation. A small test can save a lot of apologies later.
- Re-test after load-shedding, generator use or a breaker trip.
- Allow the press to stabilise before starting the order.
- Keep an eye on temperature drift during a long shift.
Reading the Result Before You Press the Order
The finished test square should tell you whether the job is ready or not. If the transfer peels correctly and the print sits cleanly, you can move ahead. If it shows cracking, ghosting, poor bonding or a shiny patch, stop and correct the setup before you continue.
Some problems are not obvious until the garment cools. A transfer may look fine while warm but lift at the edges after a few minutes. Others only show up when the fabric stretches or when the garment is folded and packed. That is why a quick fingertip check and a short cooling period are both useful.
On repeat work, save your best sample as a reference. When a customer in Bloemfontein or the East Rand comes back with the same artwork, you can match the earlier result instead of starting from scratch. That saves time and keeps your output consistent from one run to the next.
If you notice problems on the test square, fix the cause first. Do not compensate by pressing harder or longer unless you know why you are doing it.
When a Test Square Points to a Machine Problem
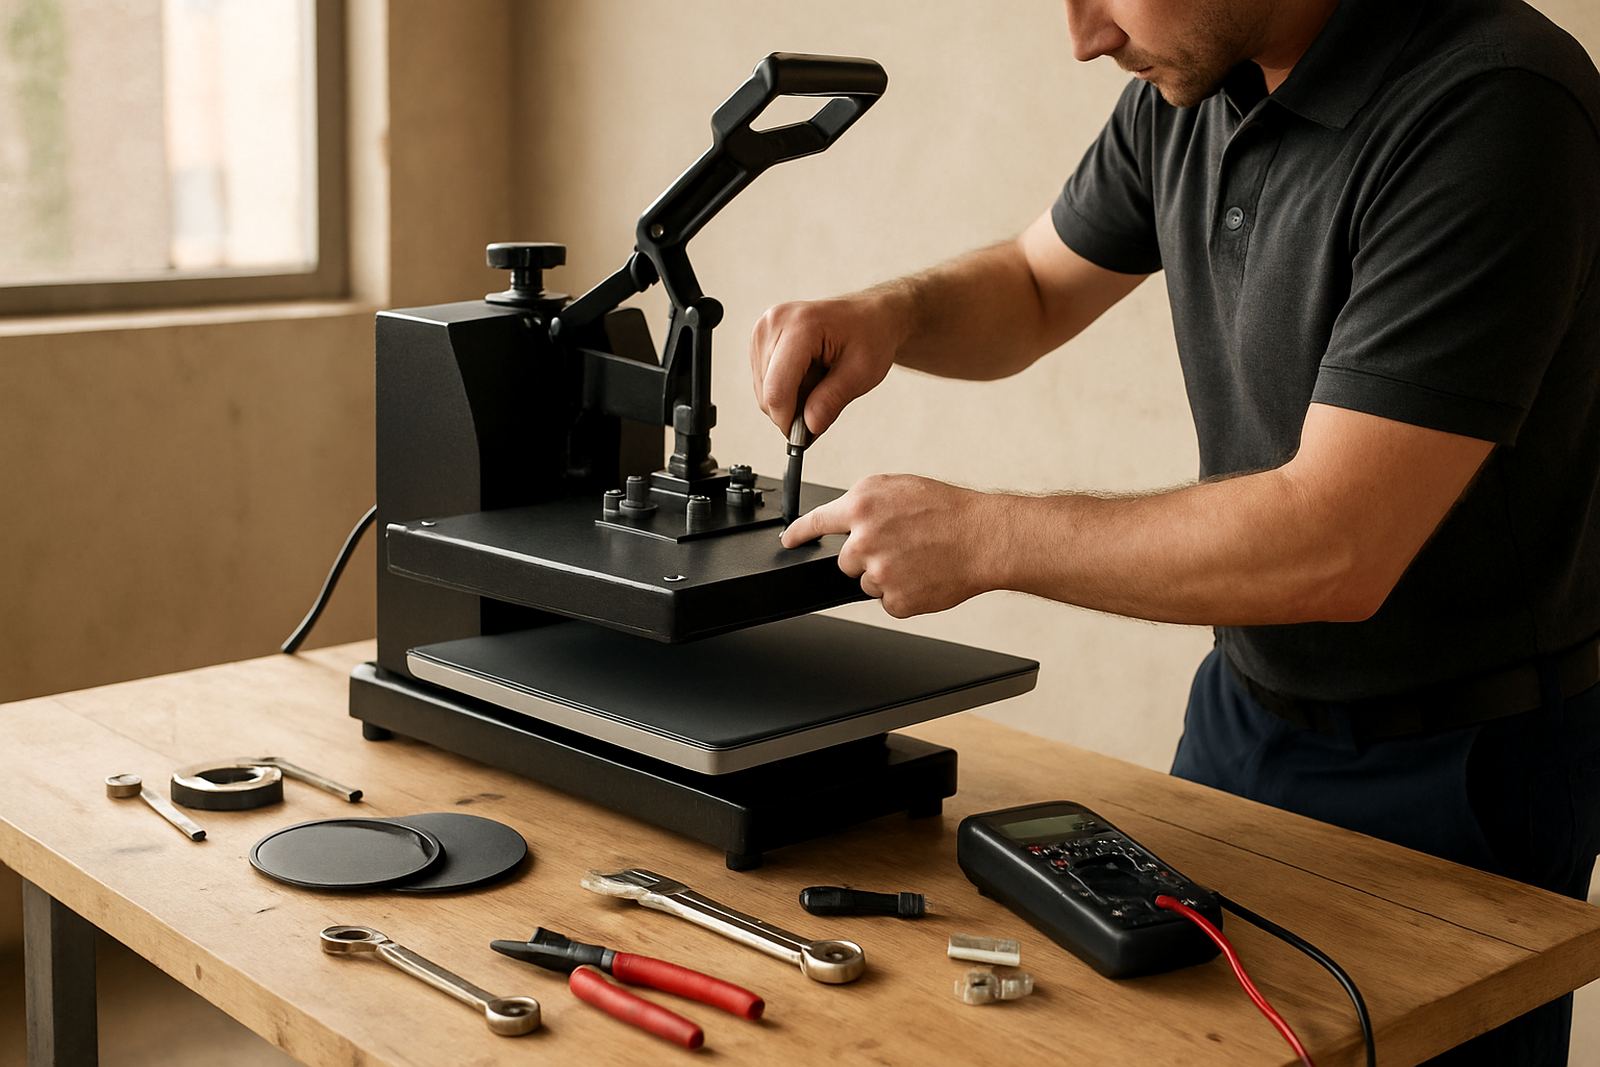
If your settings are correct but the test square still fails, the machine may need attention. Uneven pressure can come from worn pads or damaged covering. A temperature issue can point to an element fault or controller problem. If the clamp, handle or pneumatic line feels off, the press may not be delivering the same pressure on each cycle.
This is where practical servicing helps. A workshop check can confirm temperature, pressure and alignment before the fault starts affecting production. For small studios as well as busy shops, preventive servicing is usually cheaper than rushing through a batch of failed garments and then trying to recover the job.
FlatPress supports operators across Midrand, Johannesburg, Pretoria and nationwide by courier with setup, training, spares and technical support. If you are unsure whether the problem is the settings or the machine, a proper check will usually show it quickly.
- Watch for inconsistent results from one corner of the platen to the other.
- Inspect pads, coverings and controller readings if the square keeps failing.
- Get support early if the same error keeps repeating on different garments.
A Simple Habit That Pays Off on Every Order
Using test squares should become part of the normal workflow, not something you only do when a job goes wrong. It takes only a minute or two, but it can protect a whole production run. That makes it valuable for hobbyists doing side jobs from home, and for larger print shops handling repeated commercial work.
The best approach is steady and practical. Test once, confirm the result, then press the order with confidence. If the result changes from one day to the next, you will know about it early and can adjust before the customer sees the fault.
For operators who want fewer mistakes and more consistent output, the test square is one of the simplest tools on the floor. Small piece, big value.