
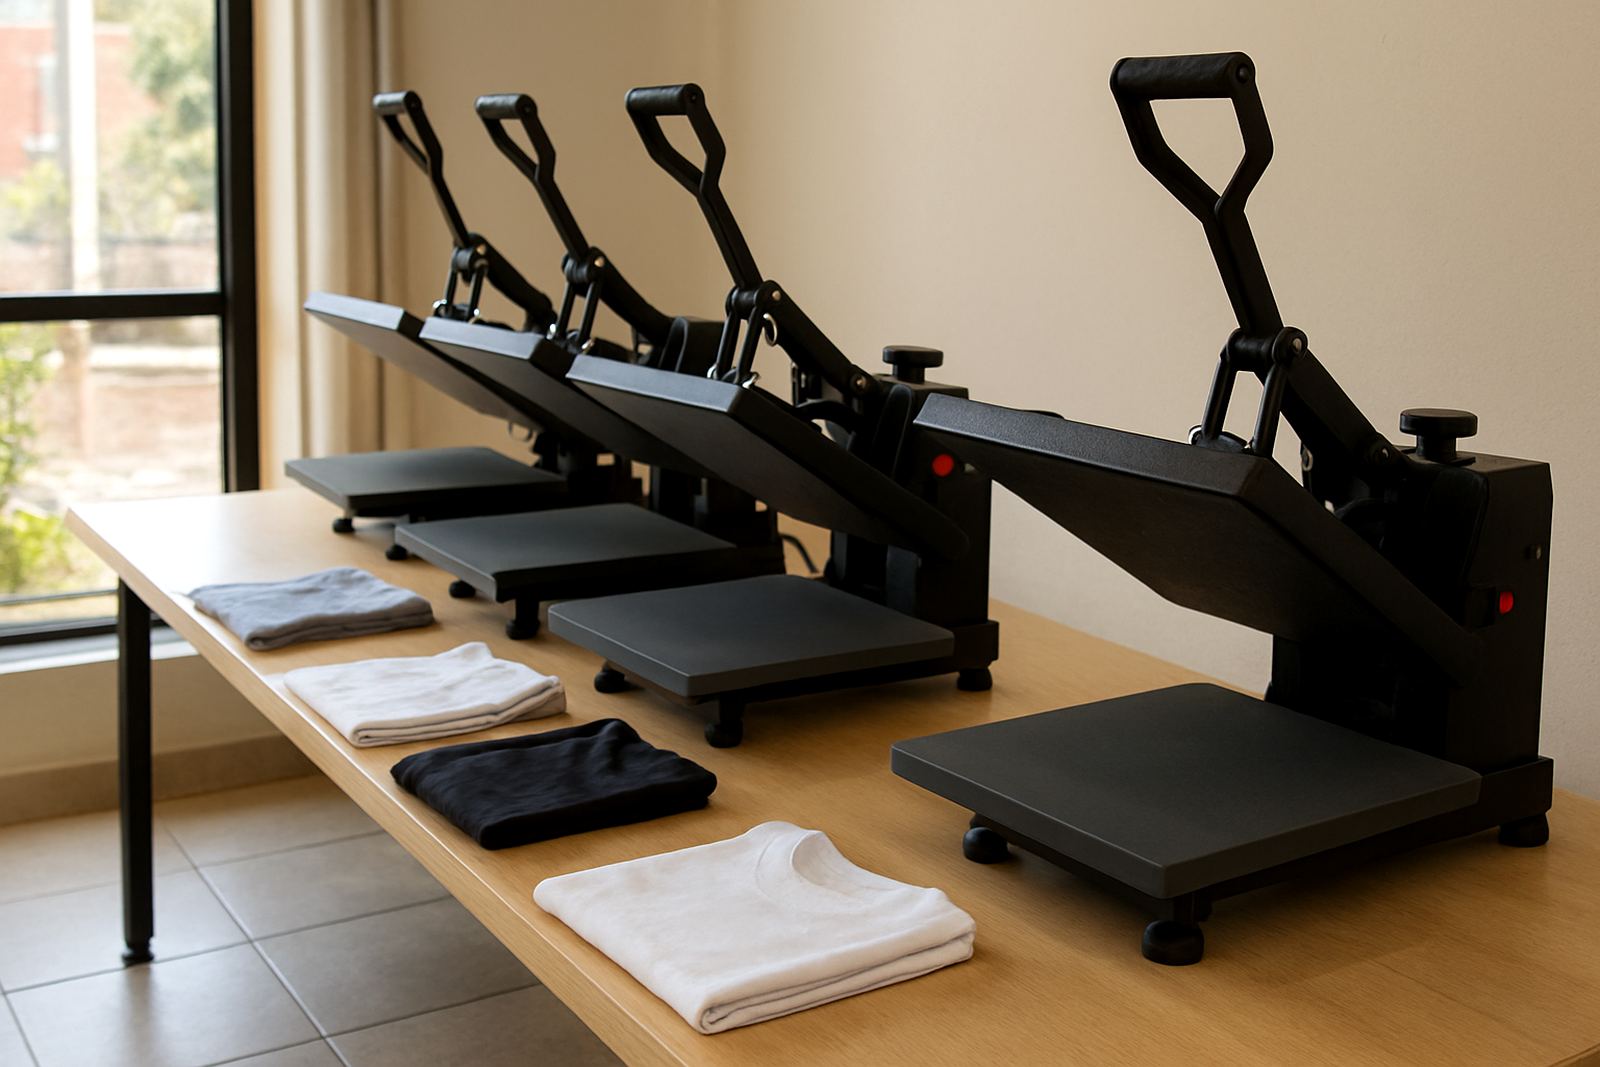
Start With the Blank, Not the Press
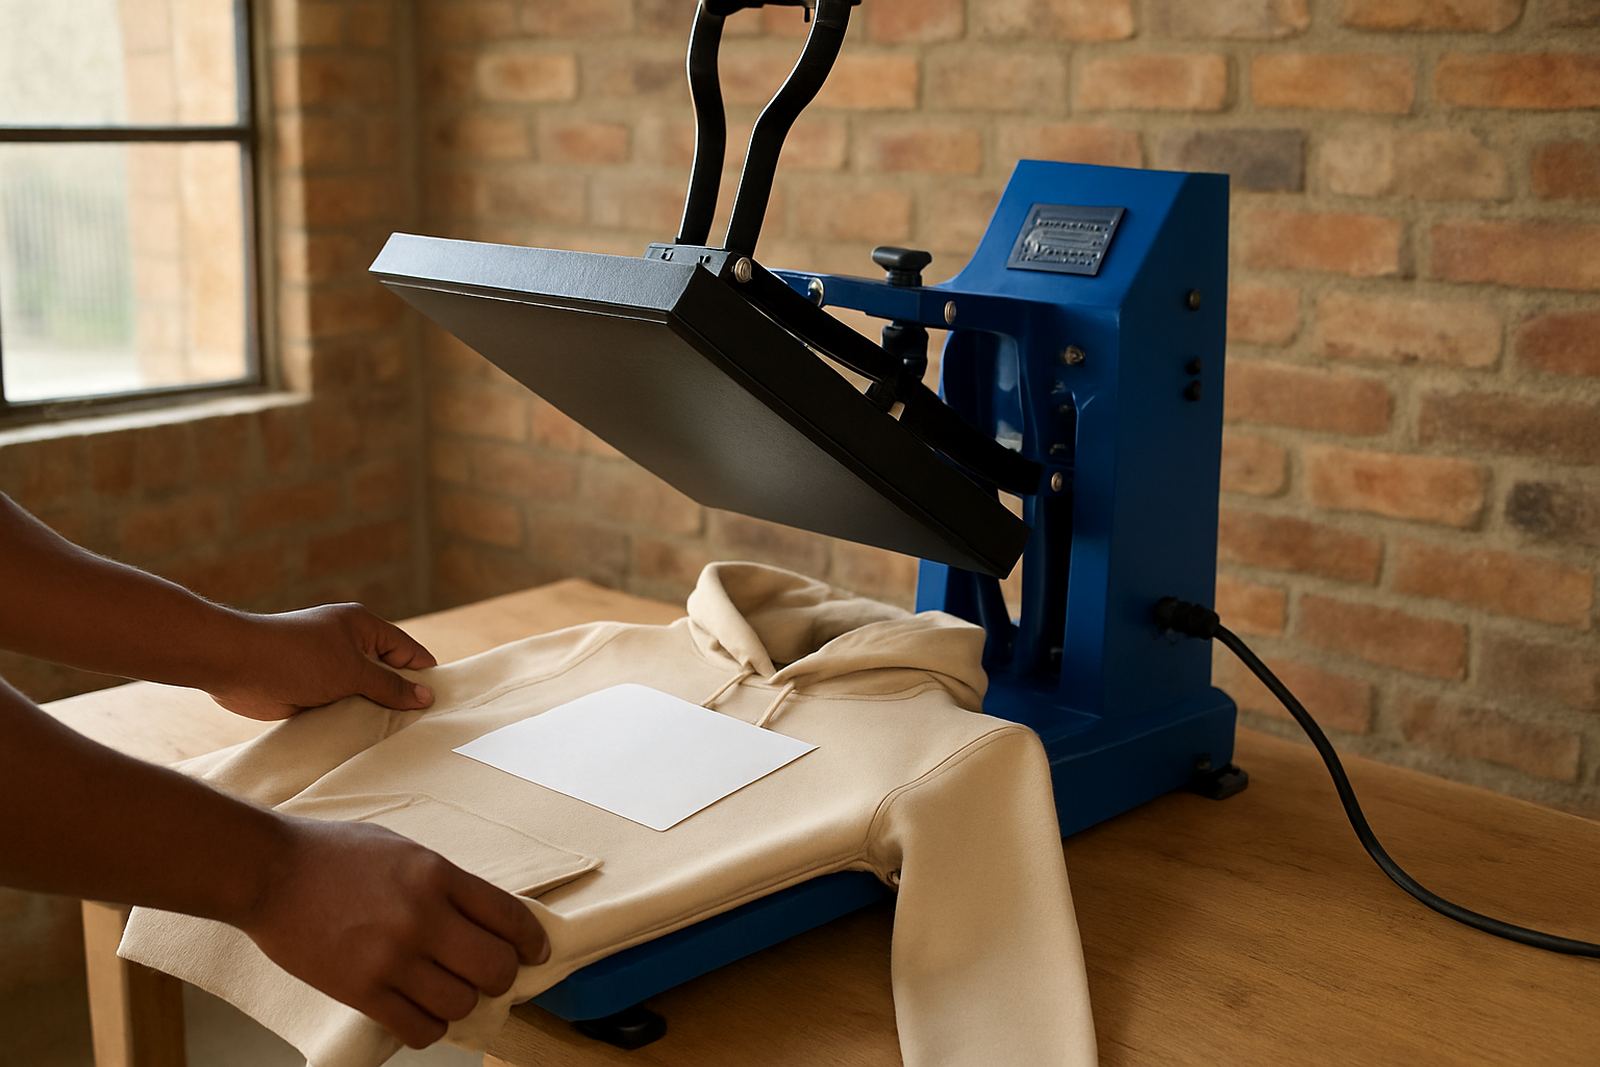
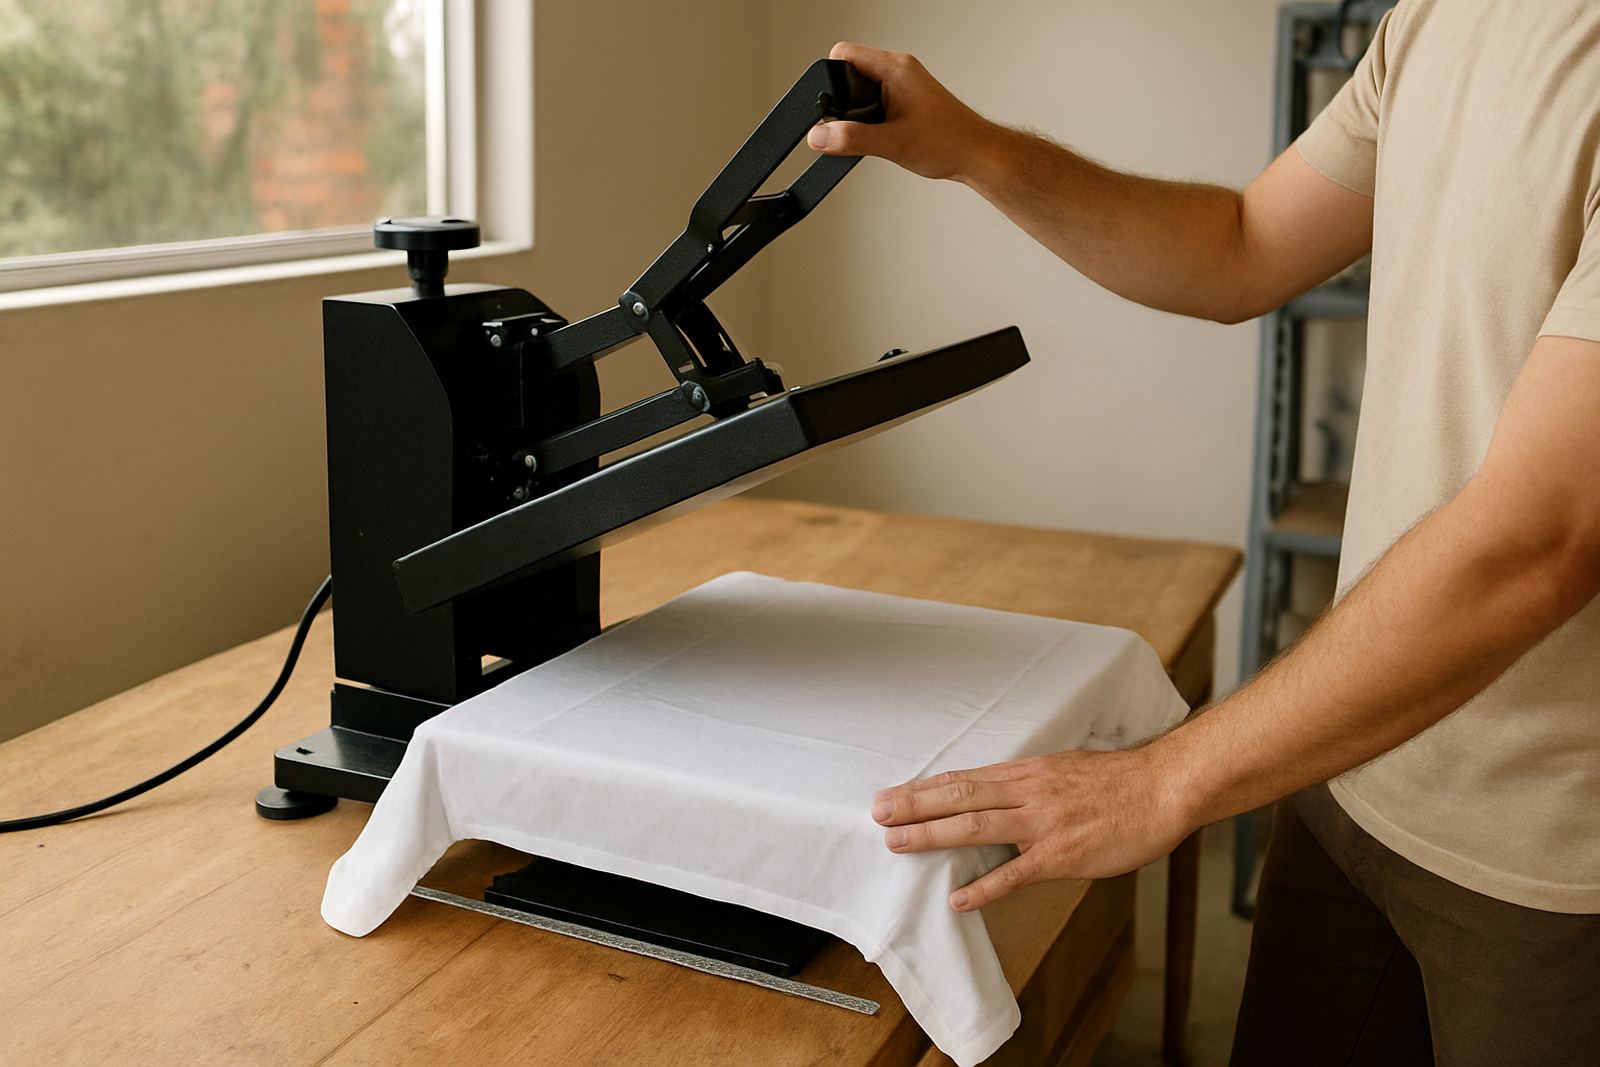
A lot of crooked prints begin before the press even closes. A shirt that is twisted on the platen, a collar that is folded unevenly, or a seam that sits off centre will push the design out of line every time. The quickest fix is to prepare the garment the same way on every job. Pull the shirt flat, smooth the body from the neckline down and make sure both side seams hang naturally. On kids wear and ladies fits this matters even more because the cut can drift with a small tug.
Use the collar as a reference only if it is sewn neatly. On some budget tees the neckline is not perfectly square, so a better guide is the centre crease from the collar to the hem. Lightly fold or press the shirt to find the middle and check that the shoulder seams match. If you are printing a batch of 50 for a school event or church group, spend the extra few seconds now rather than redoing six bad garments later.
- Lay the shirt flat before loading it onto the platen.
- Check that shoulder seams match each other.
- Smooth side seams and avoid pulling the fabric sideways.
- Use the same loading routine on every garment.
Mark a Centreline You Can Trust
When operators work without a reference, the eye starts to judge by guesswork and that is where prints drift. A centreline takes the guesswork out. You can use a removable alignment tool, a fold line or a light guideline on the platen cover. The important part is consistency. Once the shirt is in place, line up the design to the same point every time, whether you are printing a left chest logo, a supplier label or a front graphic.
For repeat jobs, set one standard placement and stick to it. If a logo sits 70 mm below the neckline on medium shirts, that same measurement must be checked on the rest of the run. On mixed sizes, the depth may change a little, but the centre should remain true. This simple routine saves time for garment decorators in busy Gauteng workshops where one operator may be covering an order while another is trimming transfers. It also helps when load-shedding breaks the rhythm, because when power comes back you want a process thats easy to resume without rethinking every step.
- Choose one centre reference and use it across the whole job.
- Measure placement from the neckline before each run.
- Confirm the design is level before closing the press.
- Write down standard placements for repeat orders.
Control the Shirt Before Pressure Comes In
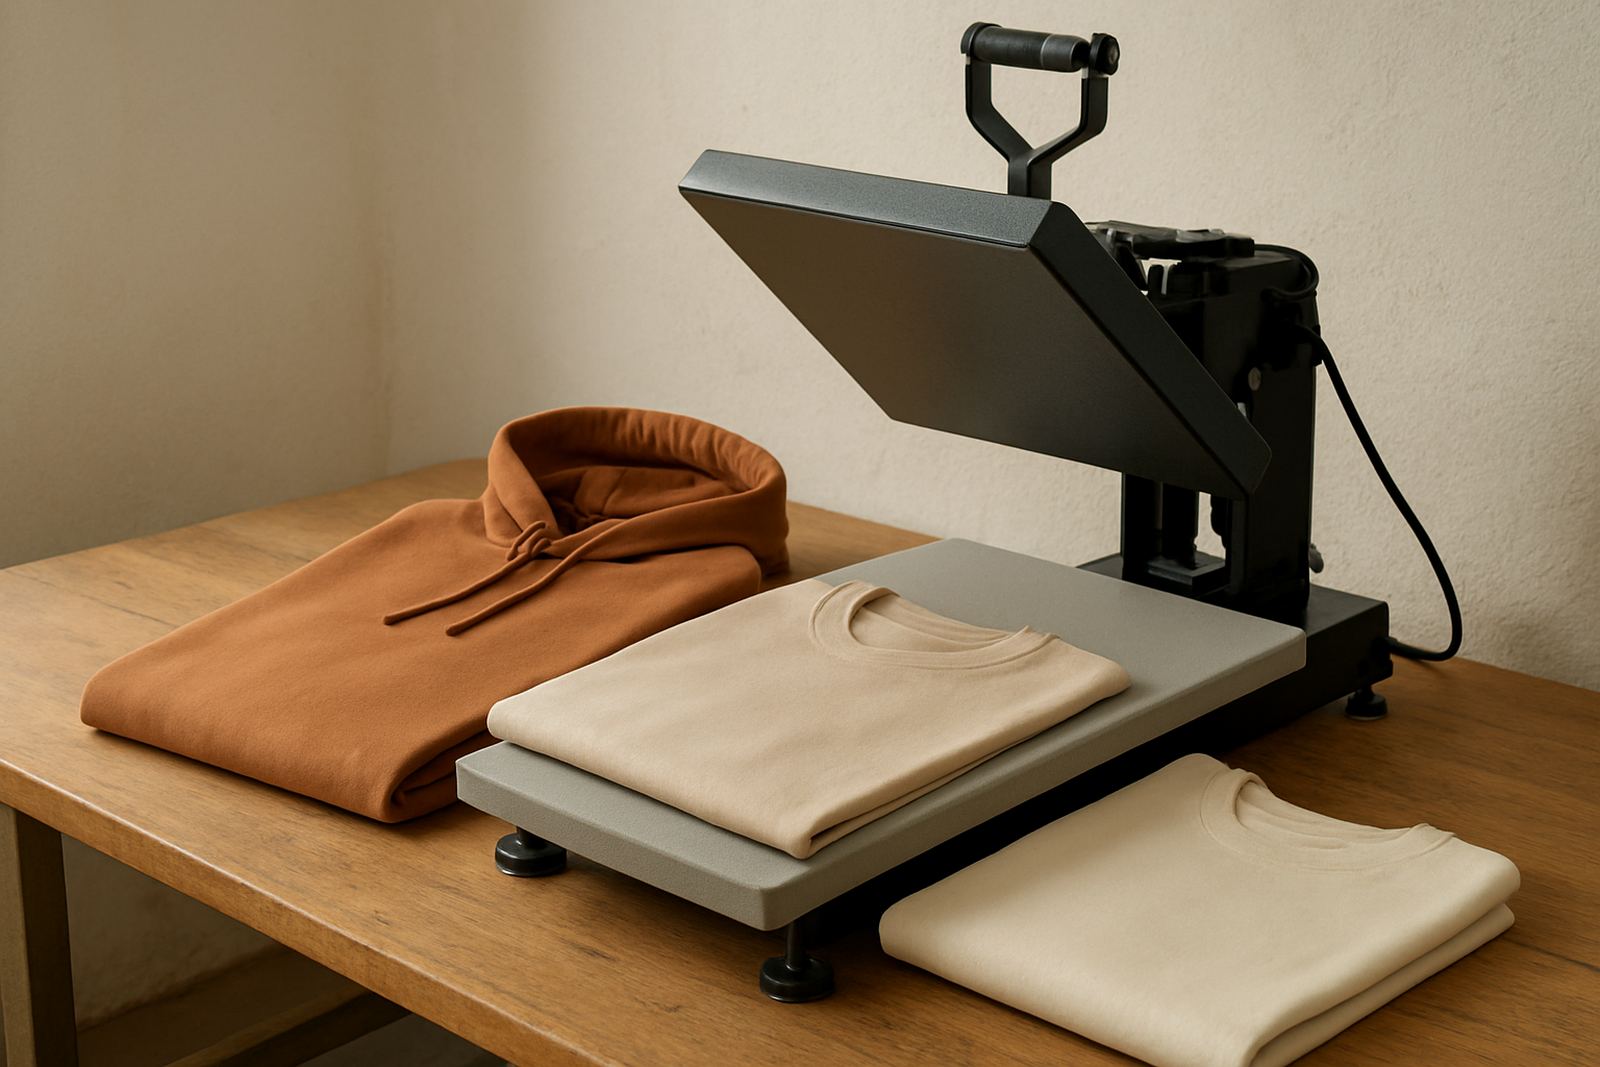
Crooked prints are not always caused by bad placement. Sometimes the shirt shifts as pressure is applied. Too much movement from a loose lower platen cover, a slippery polyester surface or an uneven pad can push the transfer sideways. If your pad has worn edges or soft spots, the garment will settle differently from one side to the other. That is why regular pad and covering checks matter as much as operator skill.
Heat, pressure and dwell time should work together. If pressure is too high, the shirt can stretch under the platen and the graphic will rotate slightly. If it is too low, the transfer may lift or slide when closing. The right setting depends on the film, garment and press type, so test on sample pieces before starting a production run. A print shop in Midrand doing work for a sports club in Pretoria found that changing the pressure down by one small step reduced side drift on lightweight vests and improved repeatability across sizes.
- Inspect the platen pad for flatness and wear.
- Keep the press surface clean and free of adhesive build-up.
- Use the same closing force for every operator.
- Test new fabric types before running the full order.
Use Rehearsal Checks for Chest Prints and Labels
A simple dry run can prevent a stack of misprints. Place the shirt, position the transfer, close the press without heat if your process allows it, then step back and look at the angle from the front and both sides. On small label jobs this check is especially useful because a few millimetres out can make the result look untidy. If you print neck labels or care marks, the text must sit straight relative to the seam and the collar, not just the edge of the platen.
It helps to create a quick routine for new staff. Show them how to sight along the neckline, how to compare left and right shoulder points and how to spot when the garment has been pulled too far to one side. In many small shops the same person handles artwork, pressing and packing, so a checklist reduces mistakes when the workshop gets busy. That is useful in Durban too, where humidity can affect how a shirt settles under heat and the fabric may behave differently from a dry inland shop.
- Do a dry alignment check before pressing if the process allows it.
- Sight the design from the front and both sides.
- Use the neckline and shoulder points as visual guides.
- Train staff to stop and recheck if the garment shifts.
When a Machine Problem Makes the Print Drift
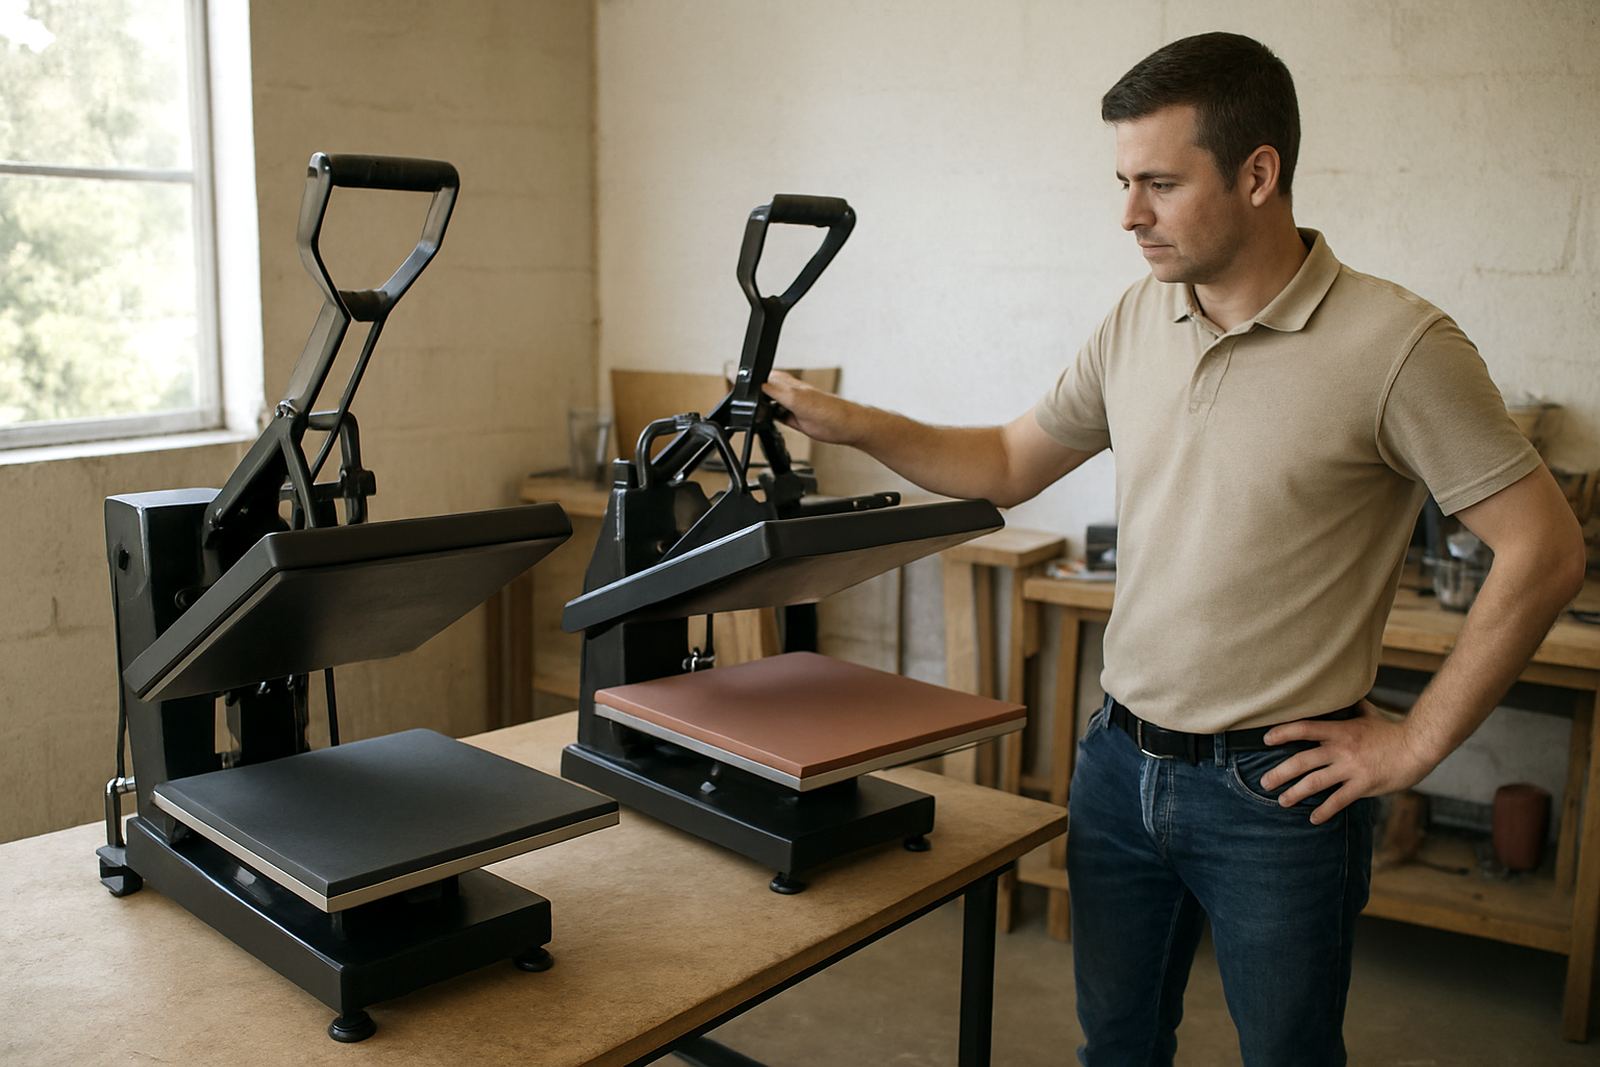
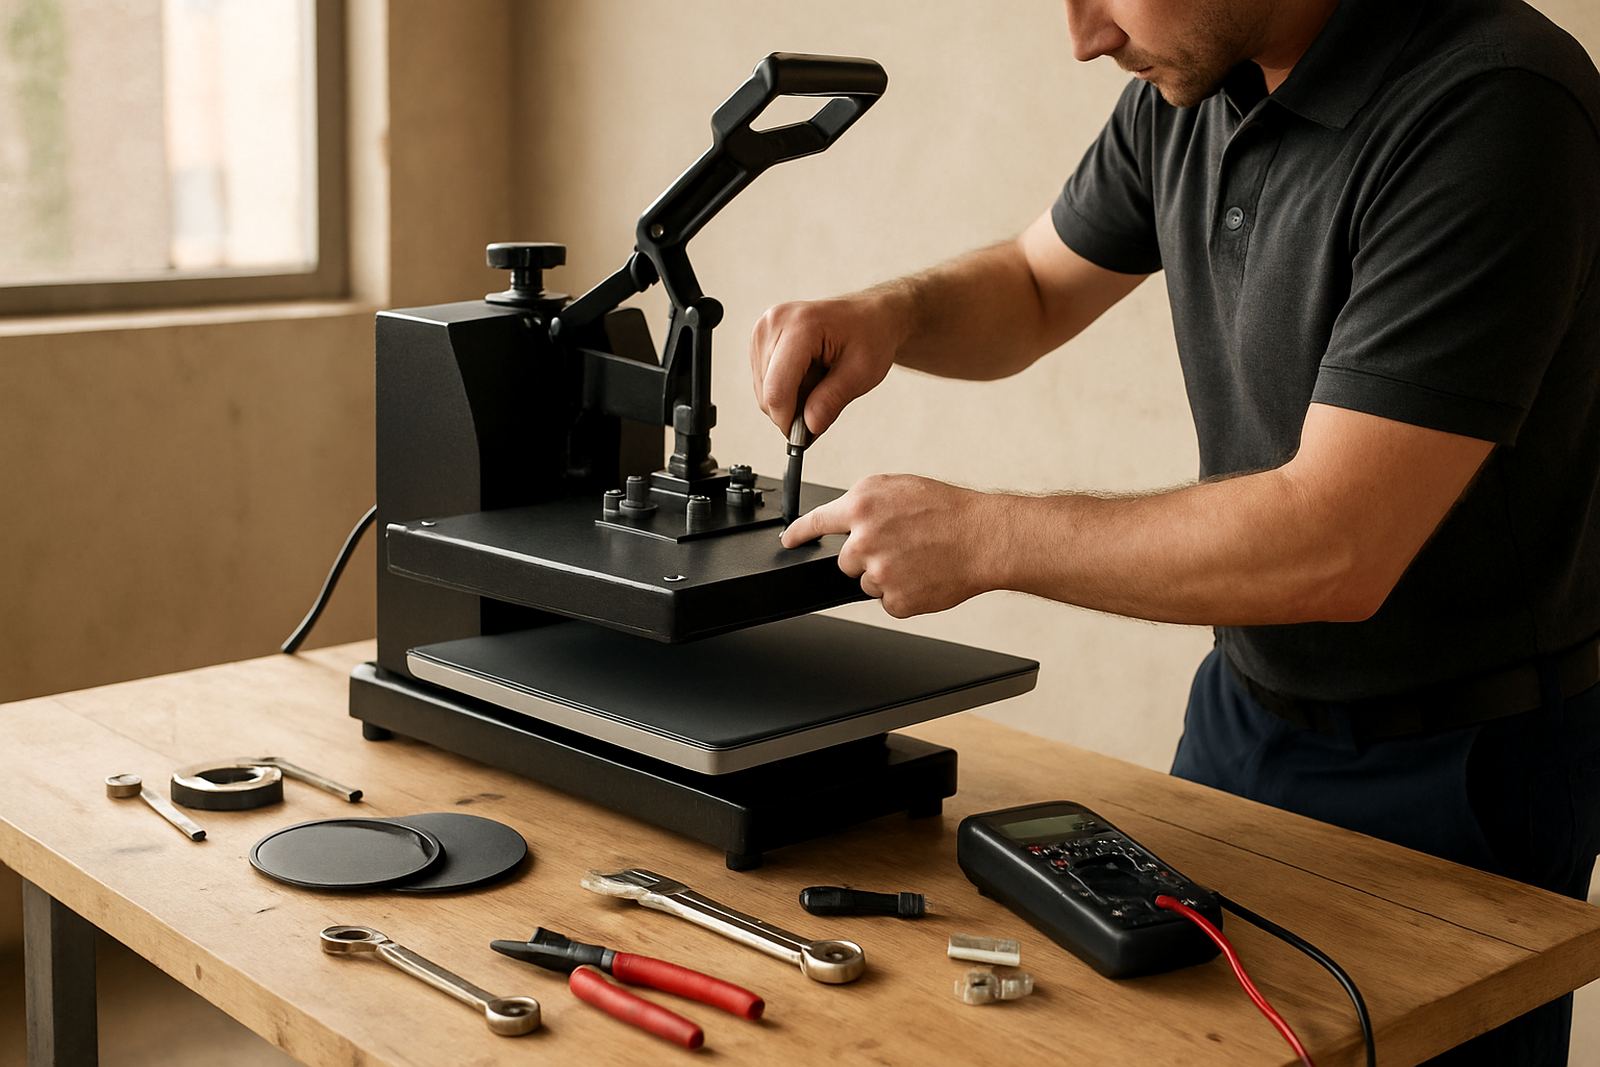
If your placement is correct but the print still comes out crooked, the press itself may need attention. A heated platen that is not sitting evenly, a pressure mechanism that pulls to one side or a controller that is reading temperatures unevenly can all affect the final result. Even a small fault can show up as a transfer that lands straight at first, then twists after pressure is applied. That is why temperature checks and pressure adjustments are part of good production, not just maintenance.
Watch for warning signs such as one side of the press closing tighter than the other, inconsistent results between operators or transfers that look fine on the first item then drift on later ones. In a coastal area like Cape Town or Durban, moisture and salt air can also affect moving parts over time, so preventative servicing pays for itself by keeping the motion steady. If you are working from a home studio or a small shop in Bloemfontein and the press starts behaving differently, it is worth checking the mechanics before blaming the artwork.
- Check platen alignment if prints drift to one side.
- Test temperature across the surface, not only at the centre.
- Look for uneven pressure from the closing mechanism.
- Service the machine before a small fault becomes a production stoppage.
A Midrand Shop Example That Saved a Batch
A small decorator in Midrand was running a mixed order of 80 tees for a local running club. The chest logo kept tilting slightly to the right, but only on the larger sizes. After checking the process, the issue turned out to be a combination of a worn pad edge and a loading habit where the operator was pulling the bigger shirts too far onto one side of the lower platen. The artwork was not the problem at all.
Once the team reset the loading position, replaced the pad covering and standardised the centreline, the batch stayed straight all the way through. That saved the order and removed the need to reprint half the run. The lesson is simple: crooked prints usually have more than one cause, so fixing only the transfer position may not be enough. A tidy routine, steady machine setup and regular checks make the difference between a clean chest print and a pile of rejects.
For print shops across Johannesburg, Pretoria, East Rand, West Rand and nationwide, the same rule applies. Straight output comes from straight habits. If your press, pad or operator routine needs attention, it is easier to correct early than to sort out complaints after collection.