
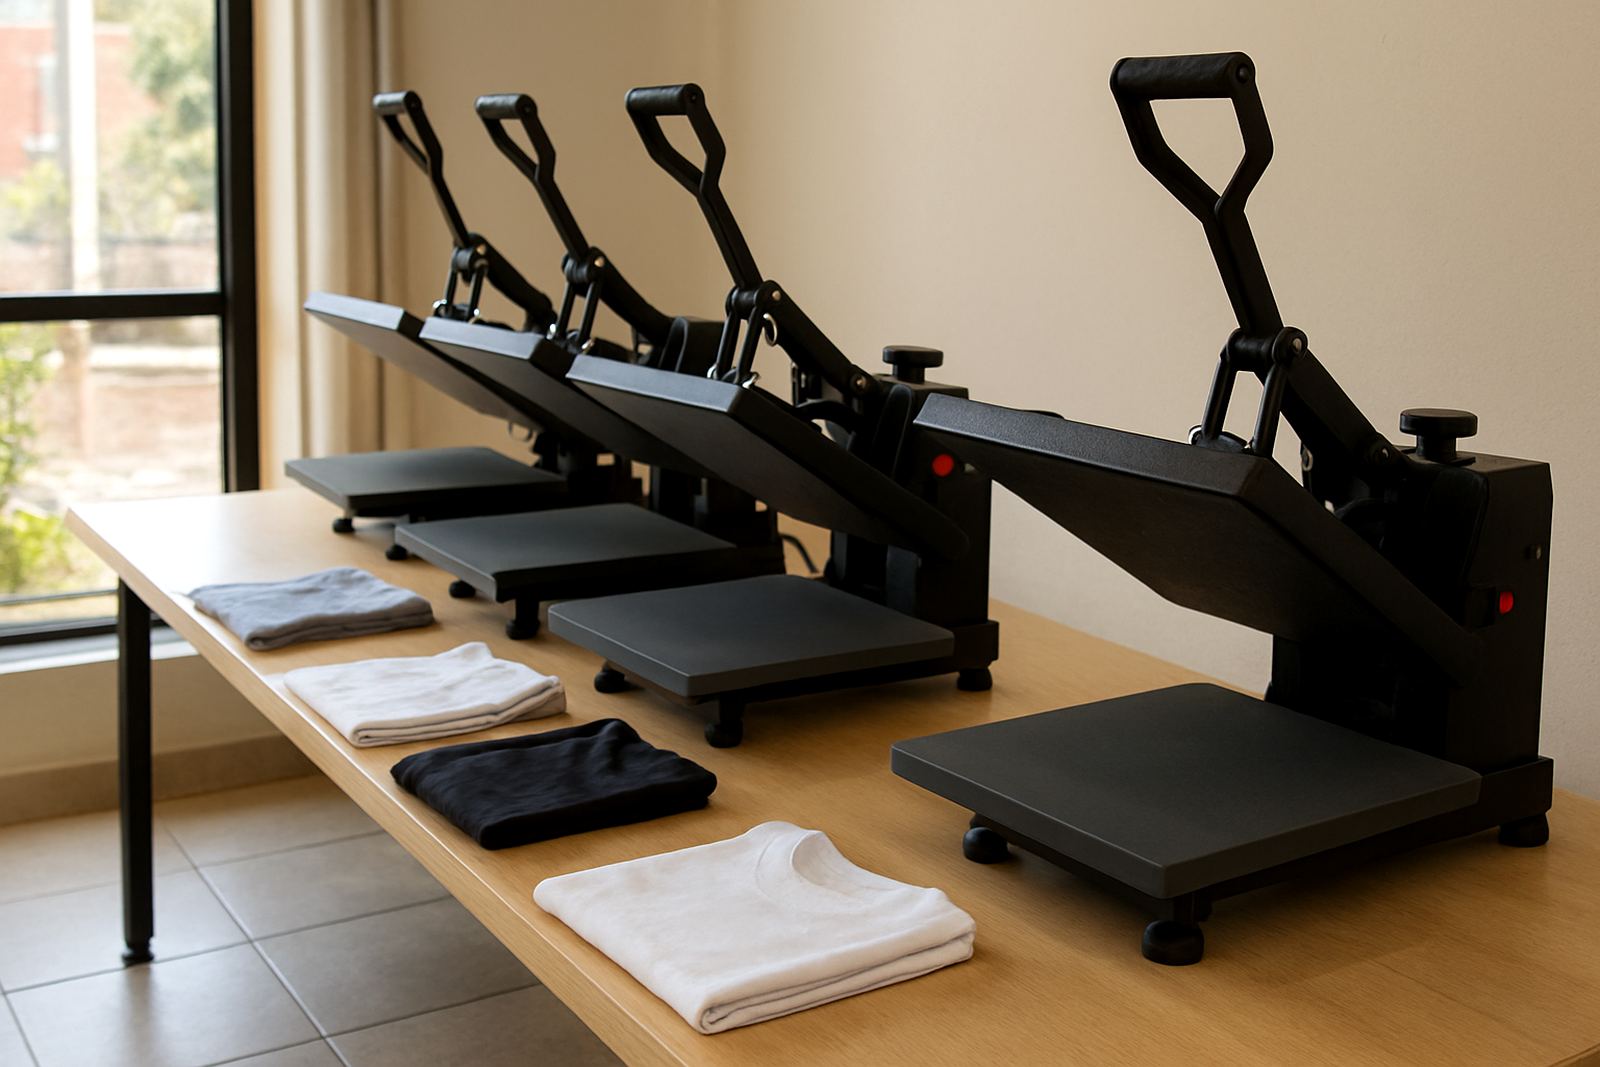
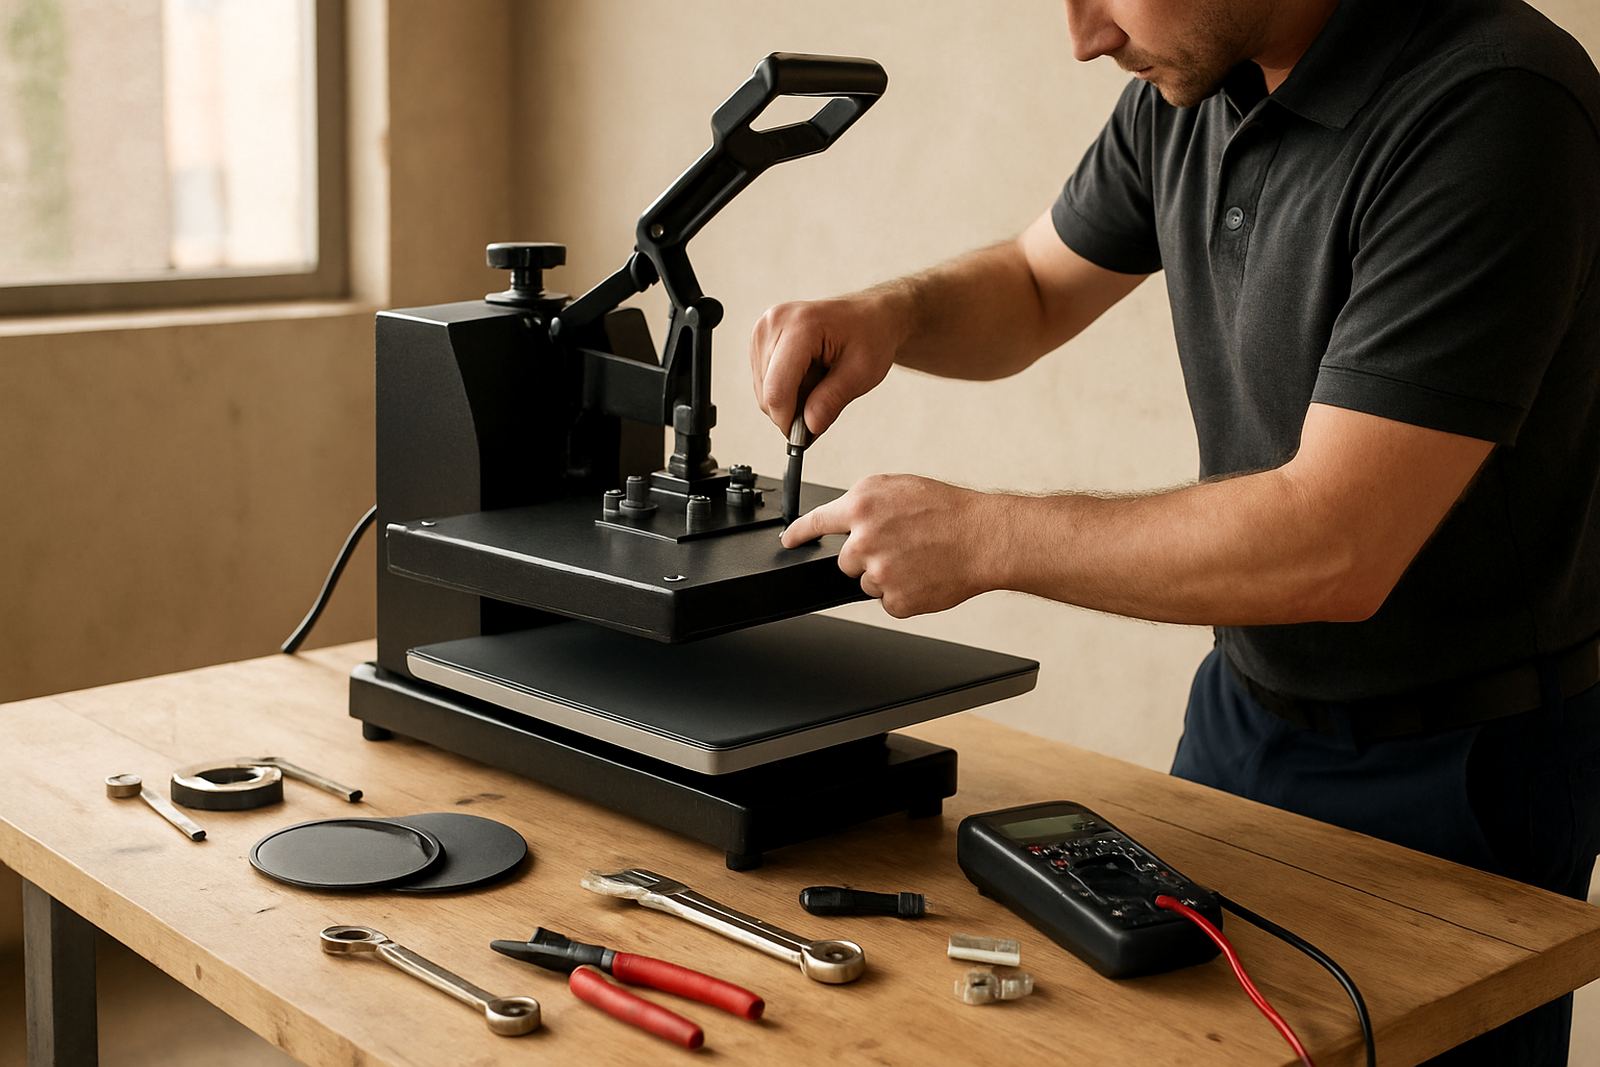
1. Confirm the exact footprint and working space
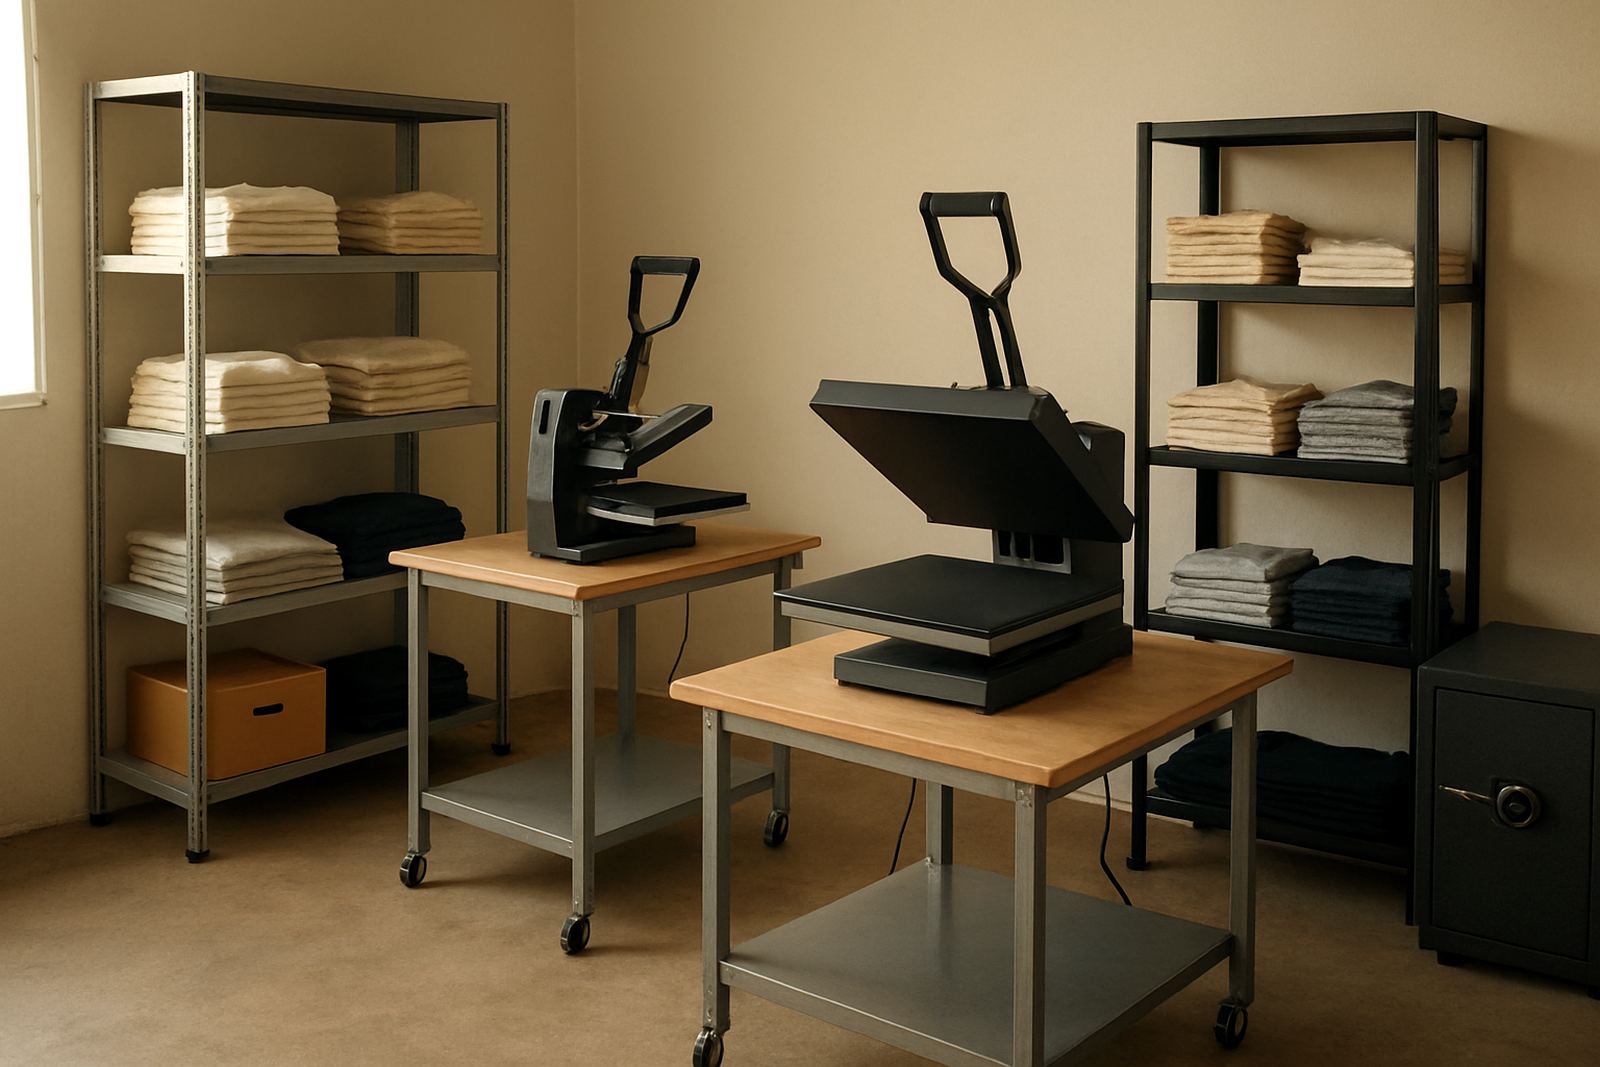
Before delivery day, measure the full area where the press will stand and where the operator will work around it. A flat heat press needs more space than the machine itself because the operator must load garments, swing or lift the top section safely, and move finished work off the table without crowding the press. In a small shop, leaving enough room is often the difference between a smooth setup and a cramped station that slows every job.
Check the floor level first. If the stand rocks even slightly, heat transfers can shift while you are pressing and the pressure will not feel consistent across the platen. In Midrand, Johannesburg or Pretoria workshops where space is tight, we usually advise allowing clear access on at least three sides. If the room is shared with packing or cutting, mark the press zone with tape before the machine arrives.
- Measure the machine base, open position and operator movement space.
- Allow room for a table or staging area next to the press.
- Keep the pathway clear for delivery, especially through narrow doors and passages.
- Check that the floor can take the weight without flexing or sinking.
2. Sort out power before installation day
Power is one of the most common hold-ups. Heat presses draw steady current, and some models need a dedicated socket or a properly rated circuit. Do not share the supply with kettles, compressors or other heavy equipment if you can avoid it. A weak plug point, loose extension lead or tired multi-plug can cause nuisance trips right when you are trying to warm up for the first run.
In South Africa, load-shedding and local supply dips can also affect temperature stability. If your premises lose power often, plan where the machine will be connected to backup power or where you can safely stop work and cool down the press. For busy garment decorators in Durban or along the coast, it is also worth keeping electrical fittings dry and off the floor because humidity and salt air can shorten the life of connectors.
- Confirm the voltage and current requirement for your model.
- Use a dedicated, safe plug point with no loose connections.
- Have a surge plan or backup power plan in place if your area trips often.
- Keep cables tidy and away from foot traffic and wet floors.
3. Prepare the table, workstation and garment flow
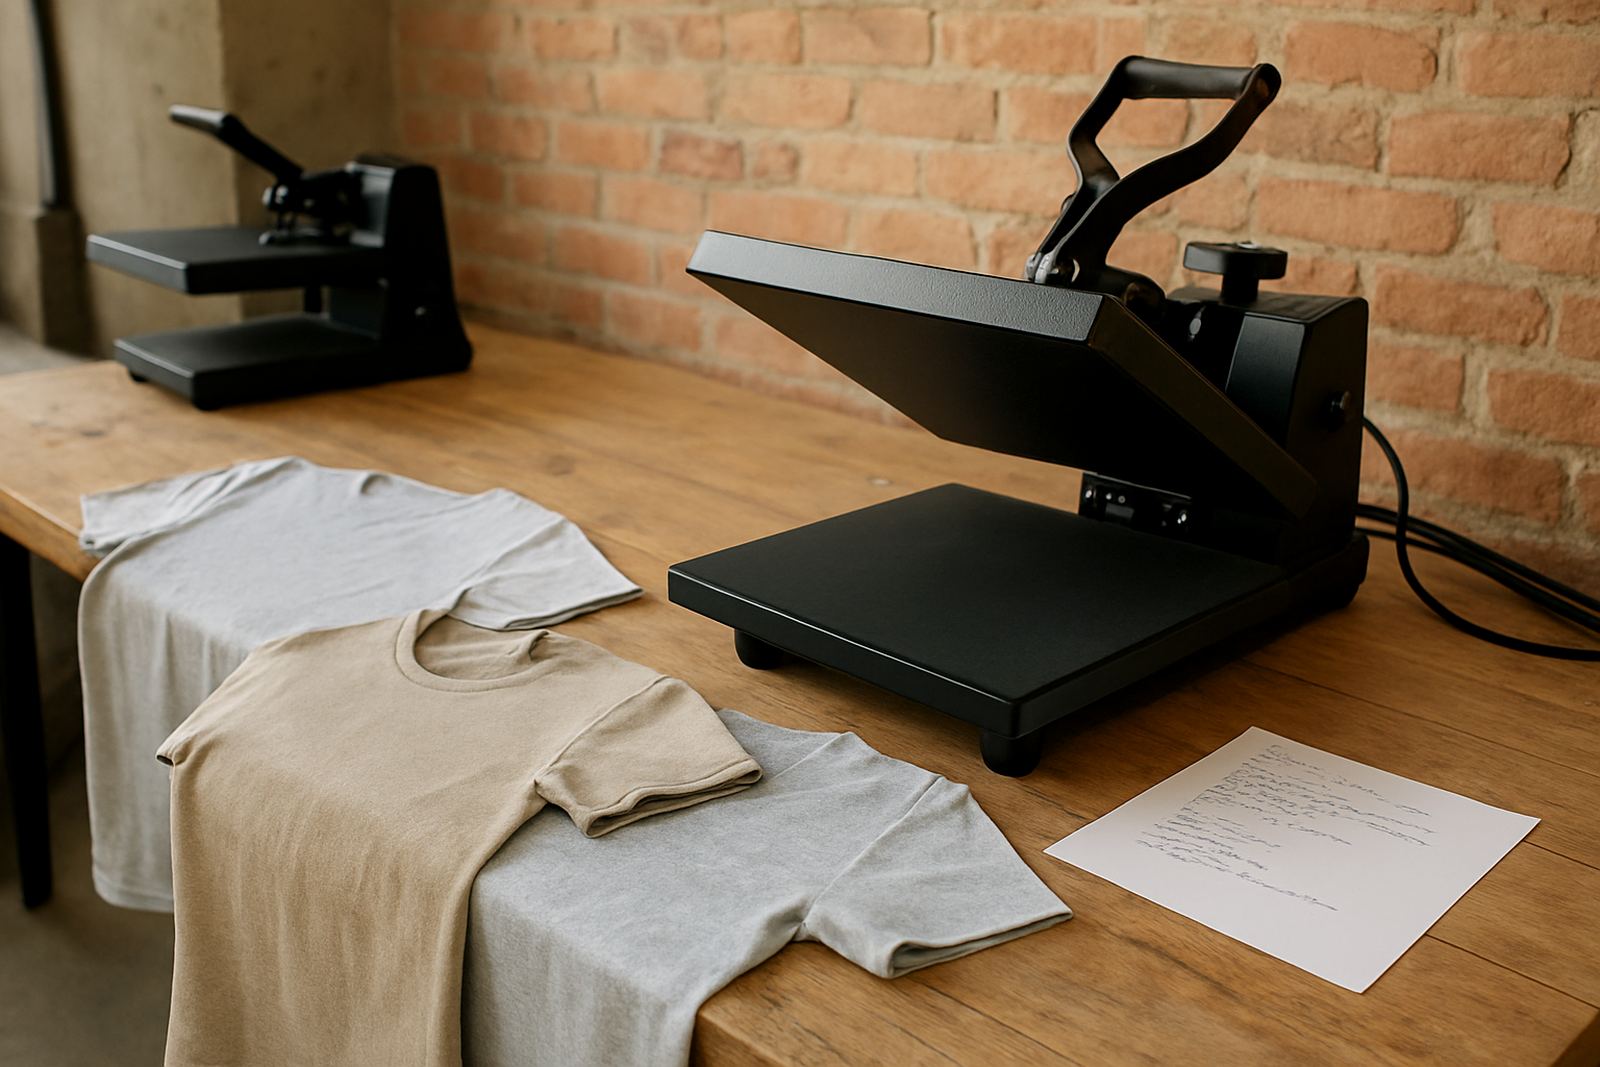
A press works best when the rest of the workflow is ready around it. Set up a stable table for folding, counting and staging garments, plus a clean landing space for completed pieces. If your team will be pressing heat transfers, keep the transfer stack close to the machine but not so close that it gets bumped or folded at the edge. Operators should be able to pick up a shirt, position it, press it and place it aside without twisting their bodies each cycle.
Also think about heat, light and movement. A press gives off warmth during long runs, so the area should have ventilation and enough air movement for comfortable work. If the room gets hot in summer, especially in smaller units in Cape Town or Bloemfontein, a fan or open vent can help, but never blow dust straight onto the platen. Keep paper, fabric offcuts and packaging away from the working zone.
- Place a stable table near the press for staging and counting.
- Set aside a clean area for finished garments to cool.
- Keep transfers, tees and packaging within easy reach.
- Remove loose threads, paper scraps and other clutter before startup.
4. Gather the small items that keep production moving
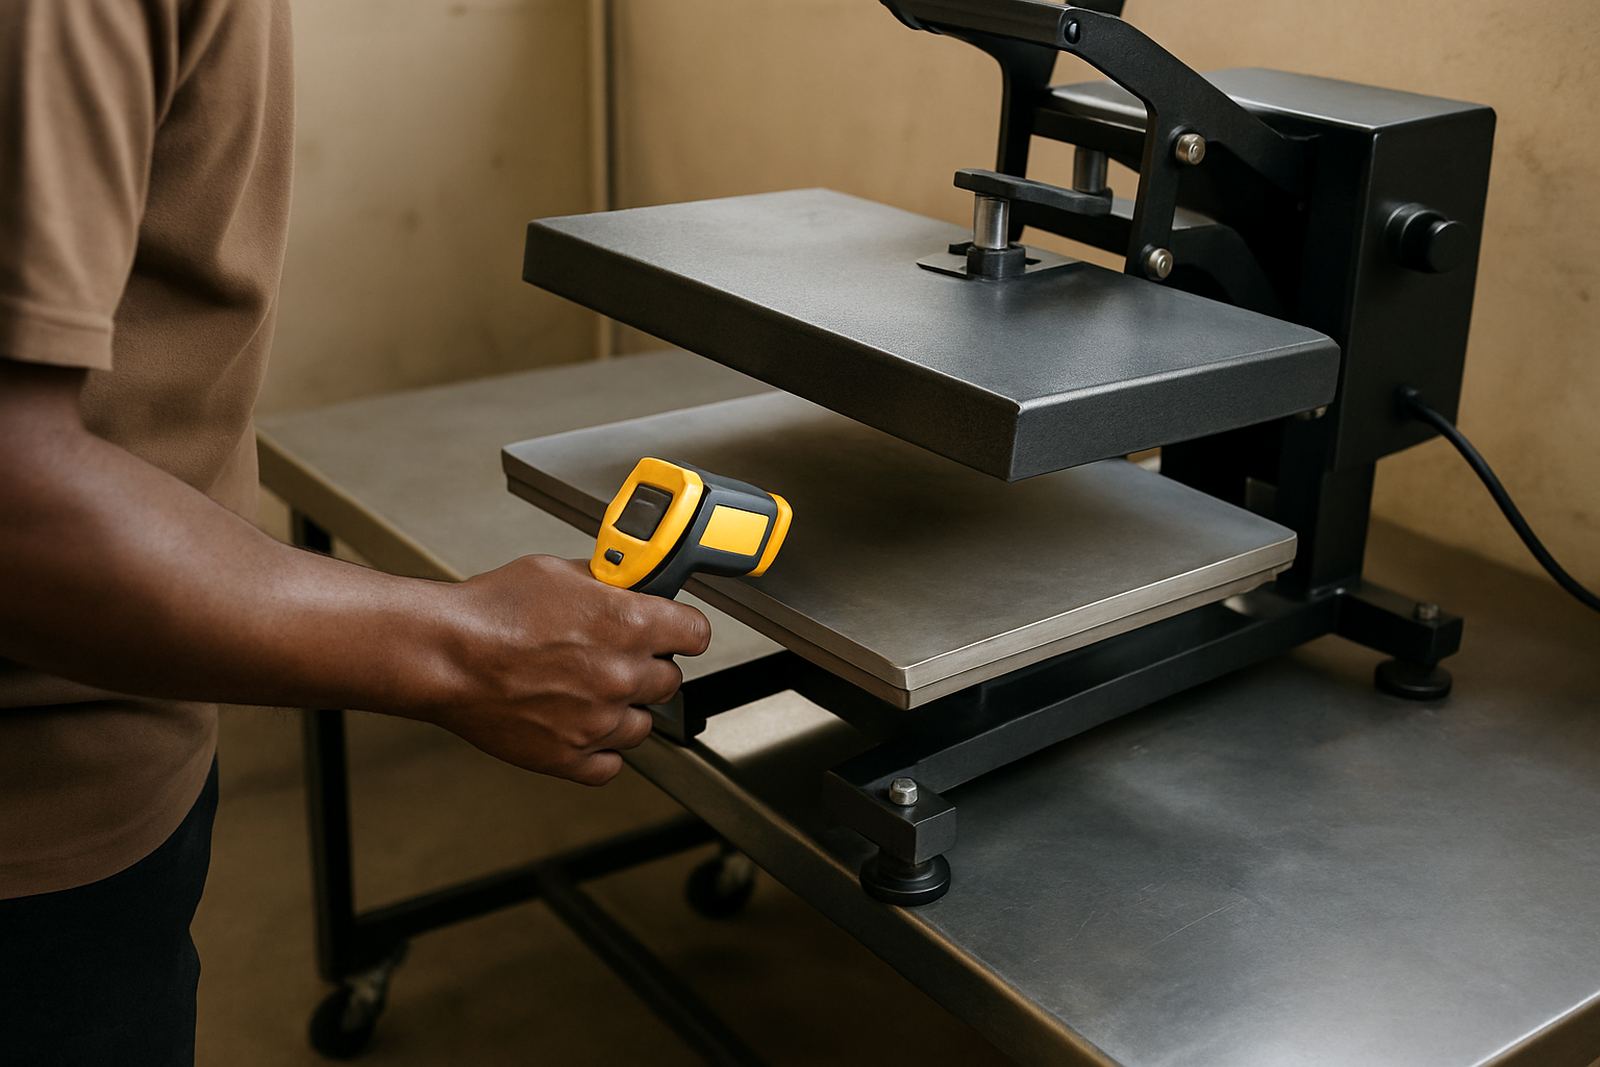
The press is only part of the setup. You also need the small support items that let an operator work properly from day one. This includes heat resistant cover material where required, a clean pressing surface, and the basic tools used for checking temperature, pressure and alignment. It is also sensible to keep spare consumables on site so a simple wear item does not stop production.
For new shops, this is often where delays happen. The machine is standing ready, but the operator has no test garments, no scrap material for trials, or no replacement cover when the first one gets marked. A little planning saves a lot of interruption later, and it helps your team learn the press under real working conditions instead of guessing. The list below is a practical starting point.
- Test garments or offcuts for trial pressing.
- Heat resistant sheet or protective cover as required by the process.
- Scissors, tape, marker and a ruler for setup checks.
- Cleaning cloths for the platen and surrounding area.
- Spare transfer samples if you plan to test several materials.
5. Plan operator training and first day checks
Even a simple flat heat press needs proper operator training. The person using it should know how to set time, temperature and pressure, how to recognise uneven pressure, and what a good first press looks like. They should also know when not to force a job through the machine if the temperature is not stable or the garment is not placed correctly. A short training session on site is usually enough to prevent avoidable mistakes in the first week.
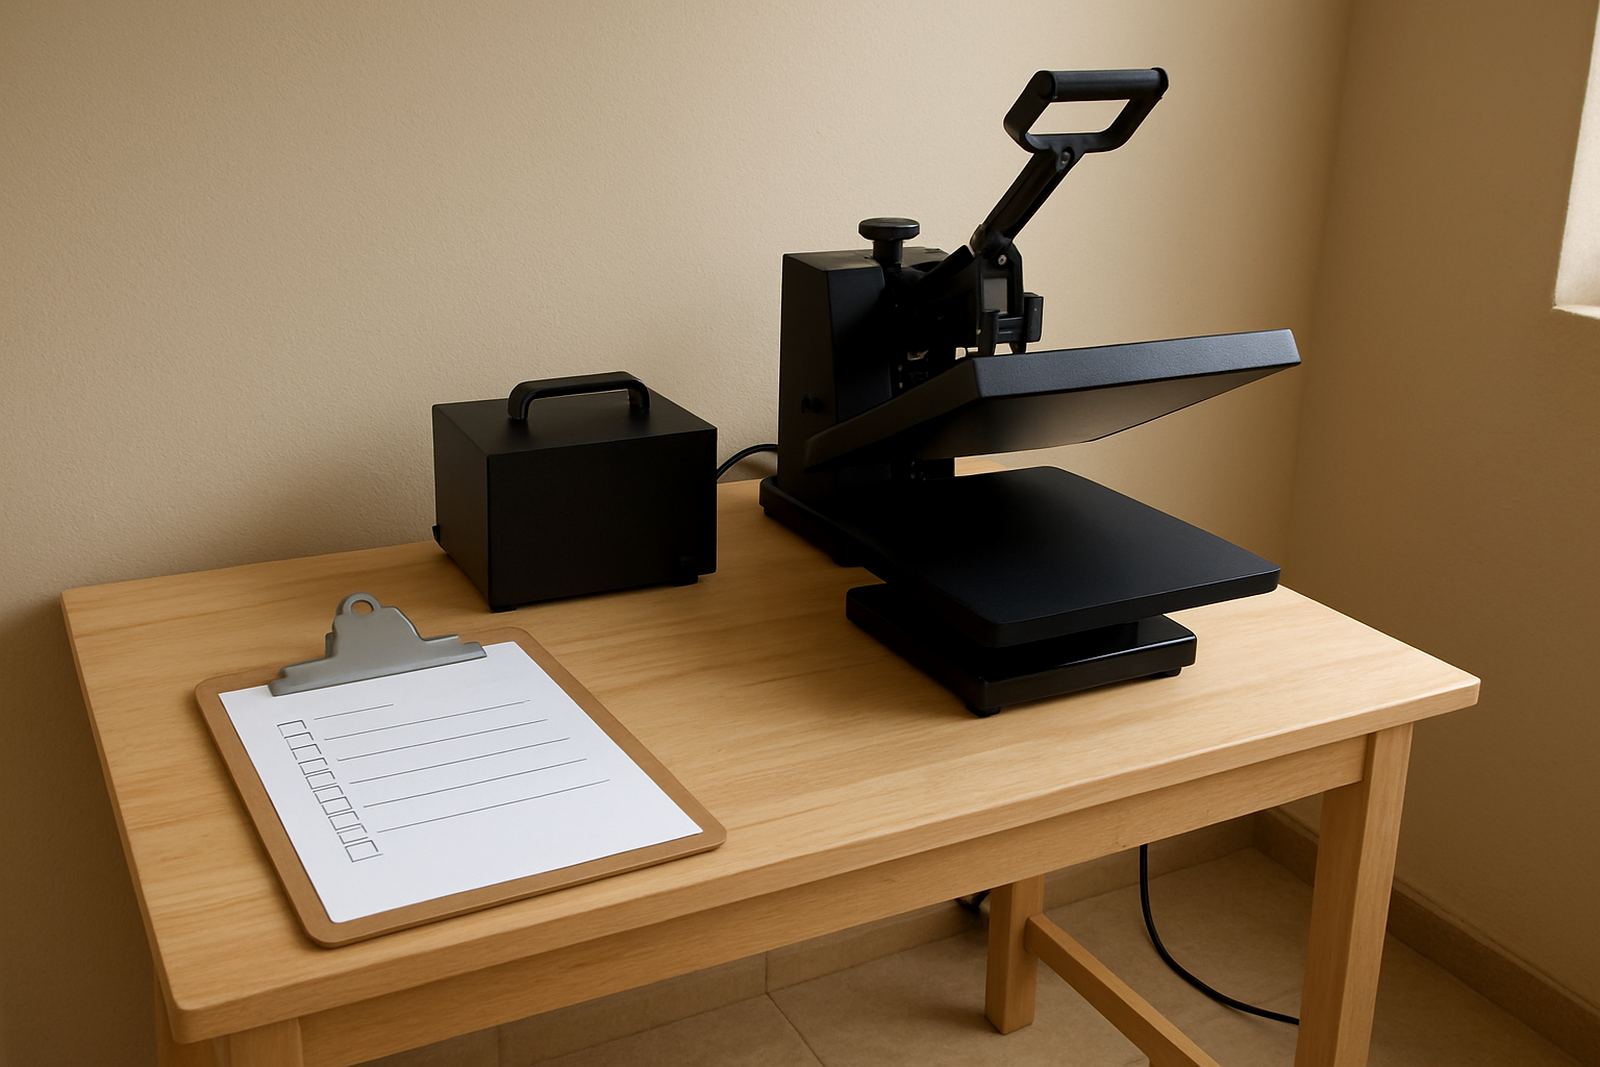
Before production starts, run a few test presses and record the settings that work for the common garments you will use. Cotton, polycotton and coated transfer media can behave differently, so one setting does not always suit every job. Make notes for each job type and keep them near the press. If your team changes shifts, this record becomes even more useful.
- Show operators how to set temperature, time and pressure.
- Demonstrate safe loading and unloading of garments.
- Run tests on the most common fabric types before live orders.
- Write down proven settings for future use.
6. Make a simple maintenance and support plan
Once the press is installed, start with a basic maintenance routine from day one. Wipe the platen regularly, keep the base clean, and watch for small changes in heat recovery, pressure feel or controller behaviour. If the machine starts heating unevenly or the pressure feels different from one side to the other, call for support early rather than pushing through a full production run and making rejects.
It also helps to decide who will speak for the business when support is needed. One person should know where the records are kept, what settings were used, and when the last check was done. That makes troubleshooting quicker and avoids confusion when the workshop is busy. For customers in Gauteng and across the country, couriered spares and phone support can solve many issues without losing a full shift.
- Keep a log of temperatures, pressure changes and service dates.
- Clean the machine at the end of each shift.
- Report unusual noises, slow heating or controller faults early.
- Store the support contact process where the whole team can reach it.